
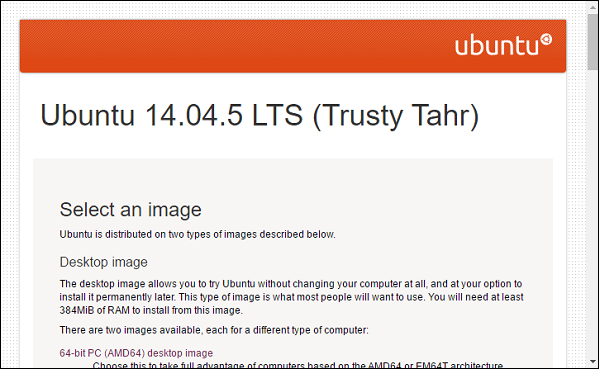
Ubuntu also comes in a server version. This version is used for hosting applications such as web-based applications. The server version can be downloaded from the Ubuntu site in the same way as the desktop version of Ubuntu.
For the purpose of this tutorial, let’s look at the installation of the server version 14.04, which is one of the most popular versions of Ubuntu. Following are the steps for installation.
Step 1 − Download for the server version from the link − http://releases.ubuntu.com/14.04/
Step 2 − Once the download of the server version is complete, put it on a USB device or bootable DVD. Boot the hardware from the bootable device.
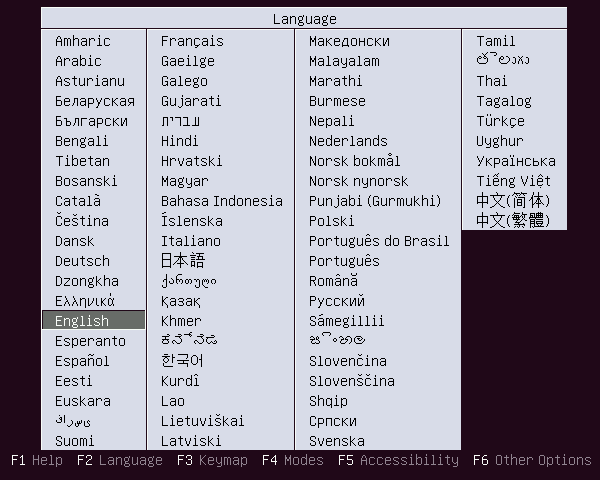
Step 3 − The system prompts to select a language for the Installation. Select English and press the Enter button.
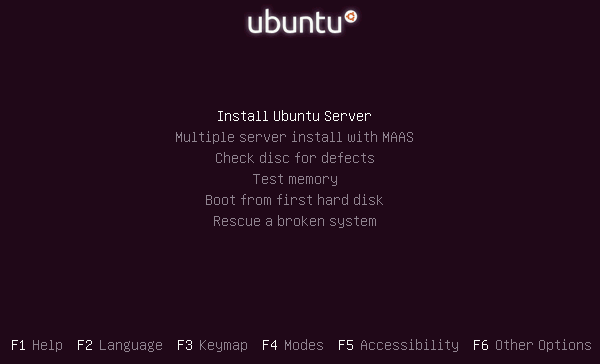
Step 4 − In the next step, choose the option to install the Ubuntu server and press the Enter button.
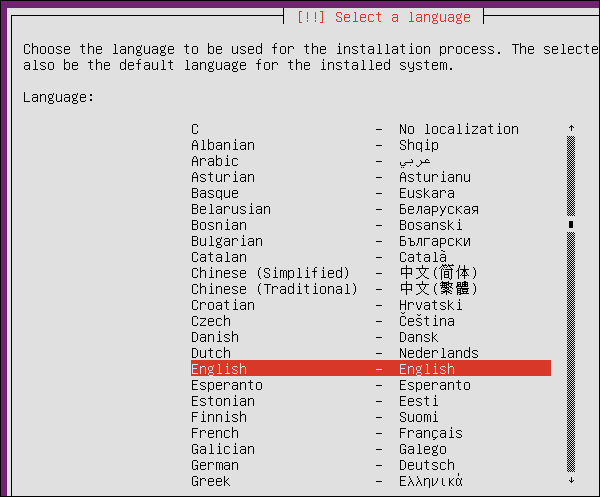
Step 5 − The system again prompts to select a language for the installation. Choose the English language and press the Enter button.
Step 6 − In the next screen, select the desired region and then press the Enter button.

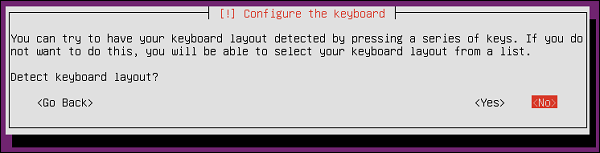
Step 7 − The next step includes the detection of the Keyboard layout. Choose the ‘No’ option and press the Enter button.
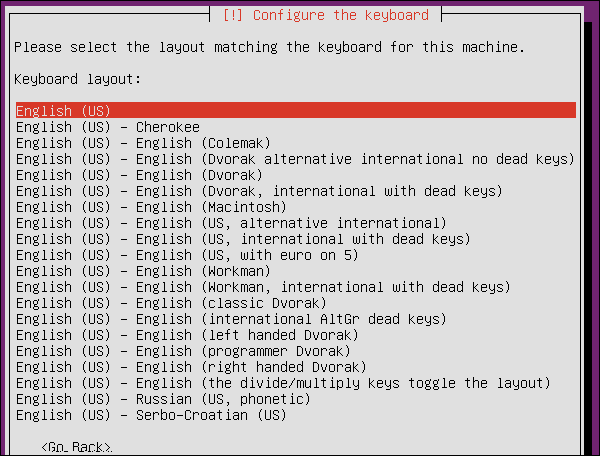
Step 8 − In the next screen, click the English(US) as the keyboard layout and press the Enter button.
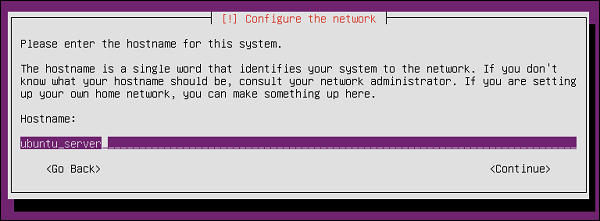
Step 9 − After performing a set of initial configuration steps, we will be prompted to enter a name for the system. Enter Ubuntuserver and press the Enter key.
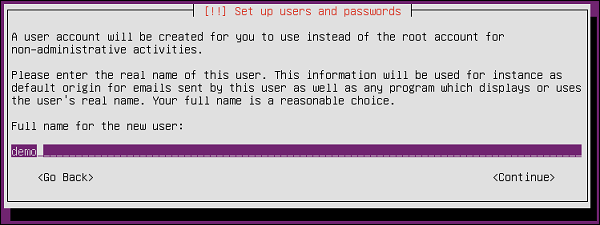
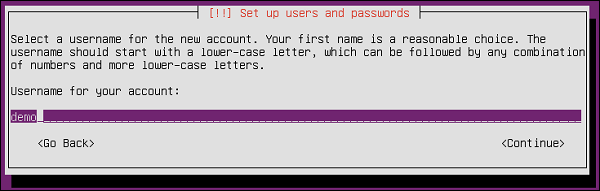
Step 10 − You will then be prompted to enter a real name and the username for an account to be created. Enter the name ‘demo’ and press Enter on both screens.
Step 11 − Now we need to enter a password for the new account. Enter a password and press the Enter button. The system will ask to verify the password.

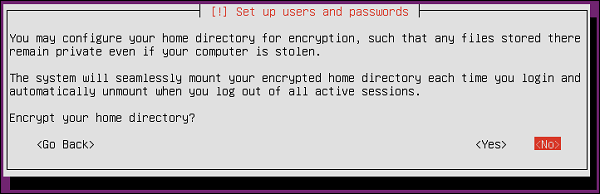
Step 12 − The system then asks if we want to encrypt the home directory. For the moment, let us say ‘No’ and press Enter to proceed. The encryption is such that if anyone does hack into the system, they will not be able steal the data as it is encrypted.
Once we are an advanced user of Ubuntu server, we can choose ‘Yes’ as the option. But for now let’s leave this as unencrypted.
Step 13 − The Ubuntu server installation will then set the time settings. Choose ‘Yes’ and press the Enter button to proceed.

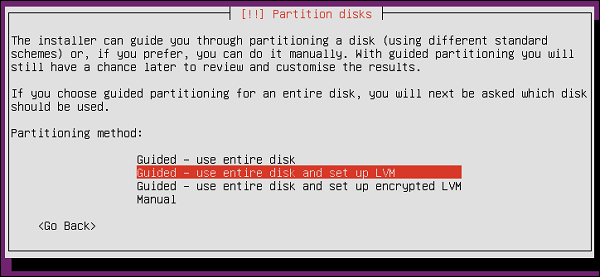
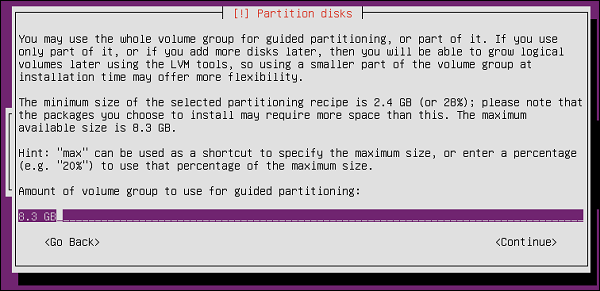
Step 14 − Next the disk setup will take place. Choose the option ‘Guided – use entire disk and set up LVM’ and press the Enter button to proceed.
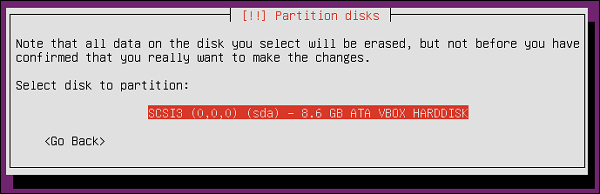
Step 15 − The installation will erase all the data on the disk. Since this is a fresh installation, this is not an issue. Click the Enter button to proceed.
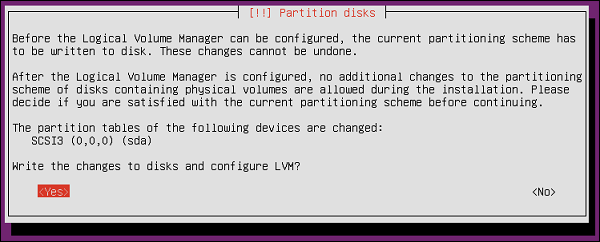
Step 16 − We will be asked to confirm all the changes to the disk. Choose the ‘Yes’ option and Press the Enter button to proceed.
Step 17 − The installation will detect the size of the hard disk. Hit the Enter button to proceed.
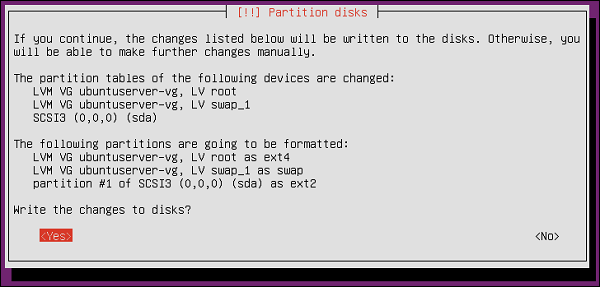
Step 18 − The system then asks to finalize the changes to the disk. Choose the ‘Yes’ option and press the ‘Enter’ button to proceed.
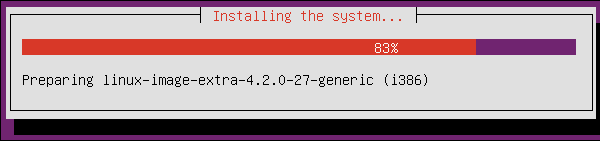
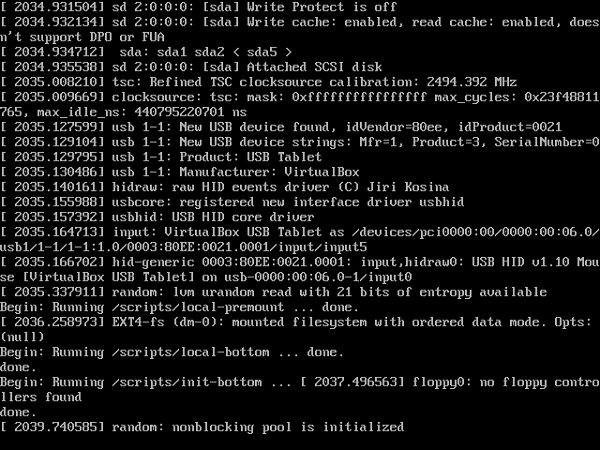
The system will then start performing a series of steps for the installation.
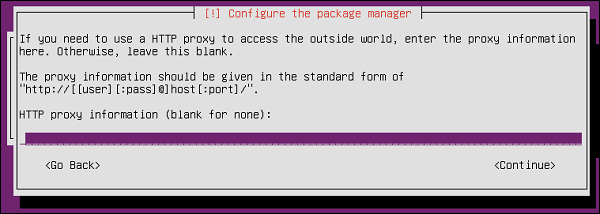
Step 19 − It will then ask to configure the Proxy setting. We can leave this setting as is and press the Enter button.
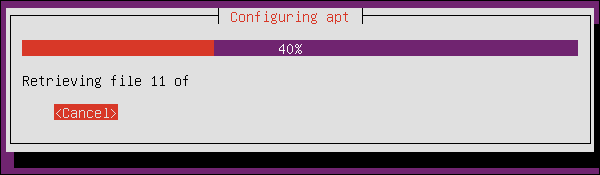
The installation will then start configuring the apt package manager.
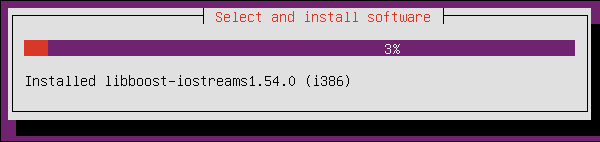
The installation of the necessary software will then start.
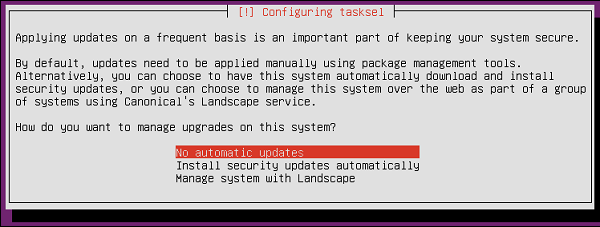
Step 20 − The system then asks if we want to configure automatic updates. For now, select ‘No automatic updates’ and press the Enter button.
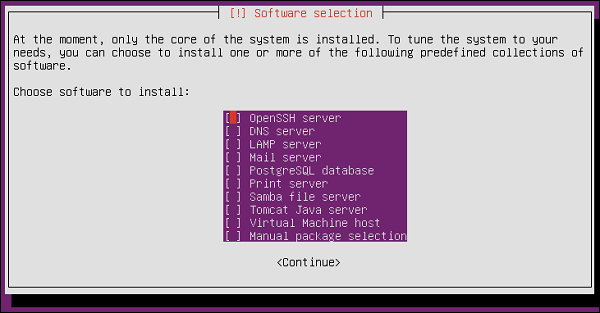
Step 21 − The next step is to install any additional software. Select ‘OpenSSH’ server which allows one to remotely connect to the server. Press the Enter button to proceed.
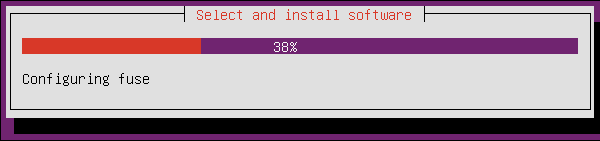
The system will start installing the remaining software on the system.
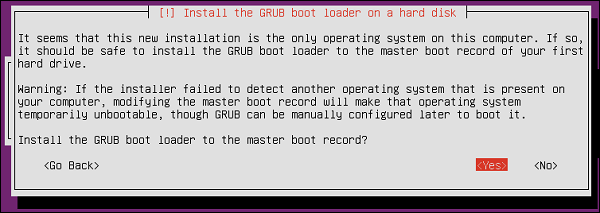
Step 22 − The system now requests to install the GRUB boot loader. Choose the ‘Yes’ option and press the Enter button to proceed.
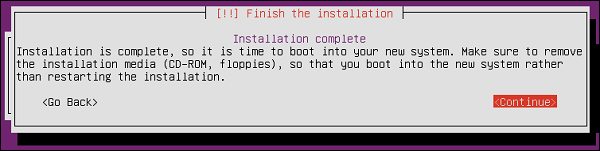
Step 23 − Once the installation is complete, press the Continue option to proceed.
The system will then reboot after the installation.
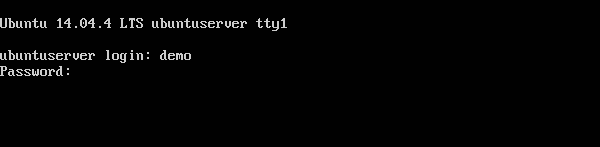
Step 24 − We will then be requested to log into the system. Enter the credentials which were entered at the time of installation.
We will finally be logged into the system.
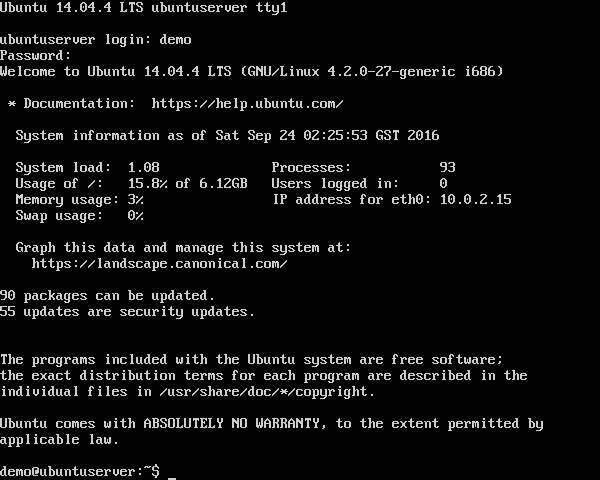
We have successfully installed the server version of Ubuntu.
In guide, we learned about Server Installation in ubuntu. To know more Click Here